India, with its rich history, vibrant culture, and diverse landscapes, is a dream destination for many. For US citizens planning to visit India, the government has simplified the visa process with the introduction of the e-visa. The e-visa (electronic visa) is a streamlined system that allows you to apply for a visa online from the comfort of your home, without having to visit a consulate or embassy. This guide provides a detailed, step-by-step walkthrough of the e-visa application process for US citizens, ensuring you have all the information you need for a smooth journey.
What is an E-Visa for India?
The e-visa is a valid travel authorization document that allows foreign nationals to enter India. It is electronically linked to your passport. The e-visa facility is available for a variety of purposes, including tourism, business, and medical treatment.
Types of E-Visas for US Citizens:
- e-Tourist Visa: For tourism, recreation, and visiting friends or relatives. Available for 30 days, 1 year, and 5 years.
- e-Business Visa: For business purposes, such as attending meetings, setting up a business, or participating in trade fairs.
- e-Medical Visa: For medical treatment in India.
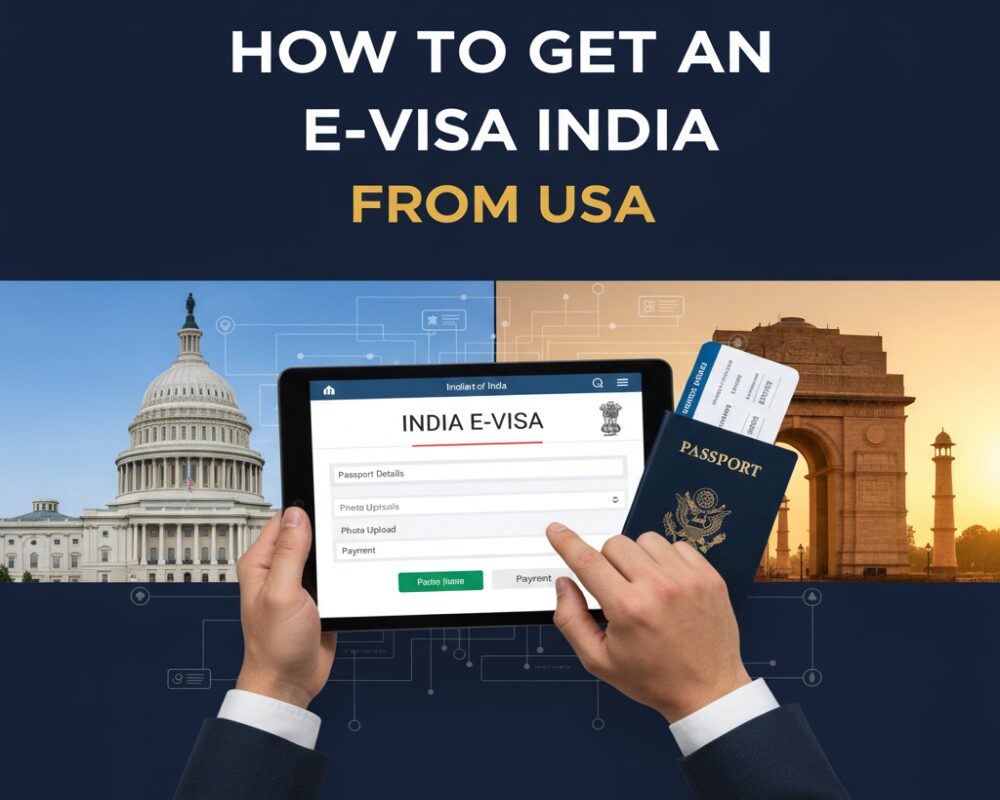
Step-by-Step Guide to Applying for an E-Visa:
The entire process is done online through the official Indian government e-visa website. Do not use third-party websites, as they often charge extra fees and may not be legitimate.
Step 1: Check Your Eligibility
- Passport: Your passport must have at least six months of validity from the date of your arrival in India.
- Blank Pages: Your passport should have at least two blank pages for immigration stamps.
- Arrival & Departure: You must enter and exit India through one of the designated airports or seaports. Check the official website for the list of authorized ports.
Step 2: Gather Required Documents
- Scanned Copy of Passport: A scanned copy of the first page of your passport (the page with your photograph and personal details). The file must be in PDF format and between 10KB and 300KB.
- Digital Photograph: A recent passport-style photograph with a white background. The photo must be a square and in JPEG format, between 10KB and 1MB. The face should be clearly visible.
- Additional Documents (for Business/Medical Visas):
- e-Business Visa: A business card and a letter from your company.
- e-Medical Visa: A letter from the hospital in India where you will receive treatment.
Steps 3: Fill Out the Online Application Form
- Visit the Official Website: Go to the official website of the Indian Government for e-visas.
- Start the Application: Click on “Apply here for e-visa.” You will need to select your nationality (USA), the port of arrival, and your visa type.
- Complete the Form: Fill in all the required personal details, including your name, date of birth, passport information, and contact details. Be careful to enter the information exactly as it appears on your passport.
- Upload Documents: Upload the scanned copy of your passport and your digital photograph. Ensure they meet the specified file size and format requirements.
Step 4: Pay the E-Visa Fee
- Fee Structure: The e-visa fee for US citizens varies based on the visa type and validity. It is subject to change, so always check the official website for the current rates. The payment can be made using a credit card or debit card.
- Confirmation: After a successful payment, you will receive a confirmation email with your application ID.
Steps 5: Receive Your E-Visa
- Processing Time: The e-visa application typically takes 24 to 72 hours to process. However, it is advisable to apply at least 4-5 days before your travel date to avoid any last-minute issues.
- Approval Email: Once your application is approved, you will receive an email with your “Electronic Travel Authorization” (ETA).
- Print Your E-Visa: Print a copy of your ETA. This is the document you will need to present to the immigration officer upon arrival in India.
Essential Tips for a Smooth Process:
- Use the Official Website: Be extremely cautious and only use the official government website. Avoid any fraudulent websites that may charge you extra and provide incorrect information.
- Check Information: Double-check all the information you enter on the form, as any discrepancy can lead to the rejection of your application.
- Apply in Advance: Apply at least a week before your flight to account for any processing delays.
- Keep a Physical Copy: Always carry a printed copy of your e-visa with you. You will be asked to show it at the immigration desk.
Read More: Best Online Trading Platform in India for Beginners: A Comprehensive Guide
Conclusion
The e-visa system has made traveling to India from the USA incredibly convenient and straightforward. By following this step-by-step guide, you can successfully apply for your e-visa and focus on planning your exciting trip to the vibrant and beautiful country of India. Happy travels!


No comment