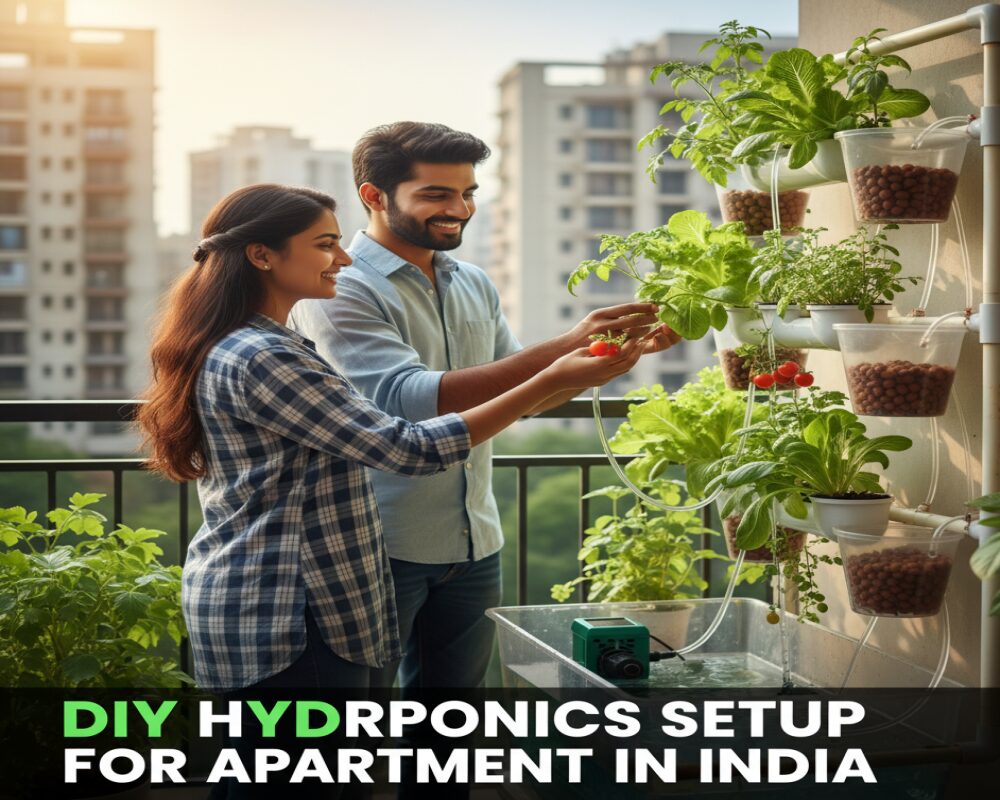
Urban living in India often means a lack of space, particularly a garden. But what if you could grow your own fresh, organic vegetables and herbs right on your balcony or windowsill? Hydroponics, the practice of growing plants in a water-based nutrient solution instead of soil, makes this a reality. It’s a method that uses less water and space, making it perfect for apartments. This comprehensive, step-by-step guide will walk you through building a simple, low-cost DIY hydroponics setup, perfect for beginners in India.
Why Choose Hydroponics for Your Apartment?
- Space-Saving: Hydroponic systems can be stacked vertically, allowing you to grow a large number of plants in a small area, like a balcony or a corner of your living room.
- Water Efficiency: Hydroponics uses up to 90% less water than traditional soil-based gardening because water is recycled and recirculated.
- Faster Growth: Plants in a hydroponic system get a constant supply of nutrients, leading to faster growth and higher yields.
- No Soil, No Pests: Without soil, you can avoid common soil-borne pests and diseases. This means less maintenance and a cleaner growing environment.
- Year-Round Growing: Since it’s an indoor system, you can grow your favorite vegetables and herbs regardless of the season or extreme weather conditions in India.
Choosing the Right Hydroponic System for Beginners:
For a simple DIY setup in an apartment, the following systems are the easiest to manage:
- Deep Water Culture (DWC): This is the simplest system. Plants are suspended in a net pot with their roots submerged in a nutrient-rich, aerated water solution. It’s a great starting point for leafy greens and herbs.
- Wick System: This is a passive system, meaning it doesn’t require electricity or pumps. A wick (like a string or felt) draws the nutrient solution from a reservoir up to the growing medium, where the plant roots can absorb it.
- Drip System: This is a more advanced but highly efficient system. A timer-controlled pump drips a nutrient solution onto the base of each plant, which is typically grown in a medium like coco coir.
DIY Hydroponics Setup: A Step-by-Step Guide for DWC System
We’ll focus on the Deep Water Culture (DWC) system as it’s the most beginner-friendly and requires minimal components.
Step 1: Gather Your Materials
You can find all these items easily in India, either online or at local hardware and gardening stores.
- A Container: A dark-colored, opaque container with a lid. This can be a 5-10 litre plastic bucket or a large storage box. The opaque nature is crucial to prevent light from reaching the water, which can cause algae growth.
- Net Pots: Small plastic pots with holes at the bottom, typically 2-3 inches in diameter.
- Growing Medium: Clay pebbles (Leca), coco coir, or rockwool. These are inert mediums that provide support for the plant and allow water to pass through.
- Air Pump: A small aquarium air pump (easily available at pet stores) to oxygenate the water.
- Air Stone and Tubing: The air stone connects to the pump via the tubing and disperses air bubbles into the water.
- Hydroponic Nutrient Solution: A two-part or three-part nutrient solution specifically designed for hydroponics. These can be bought online.
- Seeds or Seedlings: Start with easy-to-grow plants like lettuce, basil, mint, spinach, or coriander.
- pH Meter or pH Test Strips: To monitor the acidity of your nutrient solution.
- Drill or a Hot Knife: To make holes in the lid for the net pots.
Step 2: Prepare Your System
- Drill Holes: On the lid of your container, drill or cut holes that are slightly smaller than the diameter of your net pots. This will ensure a snug fit. The number of holes depends on the size of your container and the type of plants you’re growing.
- Install the Air Stone: Make a small hole in the side of your container near the top. Feed the air tubing through this hole and connect it to the air stone. Place the air stone at the bottom of the container. Seal the hole with some waterproof tape.
- Fill with Water: Fill the container with clean, room-temperature water. Leave about 2-3 inches of space at the top.
Step 3: Add Nutrients and Balance pH
- Add Nutrients: Follow the instructions on your hydroponic nutrient solution bottle. Add the recommended amount of Part A and Part B to the water. A general-purpose solution is fine for beginners.
- Test and Adjust pH: Use your pH meter or strips to test the pH of the water. For most plants, the ideal pH range is between 5.5 and 6.5. If the pH is too high (alkaline), add a few drops of a pH-down solution. If it’s too low (acidic), use a pH-up solution.
Steps 4: Prepare and Place Your Plants
- Germinate Seeds: You can germinate seeds in a moist medium like rockwool or coco coir plugs.
- Transfer to Net Pots: Once the seedlings have a few leaves, gently place them in the net pots. Fill the empty space around the seedling with your chosen growing medium (e.g., clay pebbles).
- Place in the System: Place the net pots into the holes you drilled in the lid. Ensure the bottom of the net pot is touching the nutrient solution.
Step 5: Maintenance and Care
- Light: Place your setup in an area that gets 6-8 hours of sunlight a day. If you don’t have enough natural light, you can use a grow light.
- Check Water Level and pH: Check the water level every few days and top it up with a new nutrient solution. Monitor the pH every week and adjust as needed.
- Change the Solution: After 2-3 weeks, or as your plants mature, it’s a good practice to completely change the nutrient solution.
Best Plants for a DIY Hydroponic Setup in India:
- Leafy Greens: Lettuce, spinach, and kale are perfect for DWC systems.
- Herbs: Basil, mint, coriander, and parsley grow exceptionally well.
- Other Vegetables: You can also grow small vegetables like cherry tomatoes and bell peppers, but they may require a slightly more advanced setup and support.
Read More: Sustainable Fashion Brands in Delhi: A Guide to Eco-Conscious Style
Conclusion
A DIY hydroponics setup is a rewarding project that allows you to cultivate a green thumb even in the smallest of apartments. It’s a sustainable, clean, and efficient way to grow your own food. With a little effort and the right components, you can enjoy fresh, homegrown vegetables and herbs right from your urban oasis. Happy growing!


No comment